
Automatic Tripod Feeder
Assembly, Use and Installation Guide

Feeder Installation and ovocontrol user’s guide
Before getting started on assembly and installation, please take a few minutes to review the OvoControl User’s Guide. The guide provides a short list of instructions how to get the best performance out of your feeder and OvoControl program.
It is recommended that OvoControl feeders are placed on rooftop locations, and not necessarily on a very high one. The best results are with 1-2 story installations. While they can be installed on higher locations, experience tells us that the birds prefer lower locations as opposed to higher ones.
ASSEMBLY
TRIPOD Feeder Assembly (PDF)
To ensure an effective OvoControl program we recommend an automatic feeder. The machine triggers and feeds the pigeons once a day so they receive the necessary amount of bait. The new and improved automatic feeders are also easy to assemble and operate.
PROGRAMMING
TRIPOD Feeder PROGRAMMING (PDF)
SEE THE VIDEO INSTRUCTIONS
SOLAR PANEL & BATTERY INSTALLATION
See the VIDEO INSTRUCTION
INSTALLATION ON SENSITIVE ROOFTOPS
Since the free-standing feeders are installed on rooftops, building management is typically concerned with any risks. The most obvious of these is that a feeder gets airborne in a windstorm or other weather related event. For this reason, we recommend securing the feeder on the roof so that it cannot blow away. The most direct way of securing a feeder is with a cable, rope or strap attached to one of the legs and fastened to an immovable object on the roof. When that is not an option, skip to the next alternative.
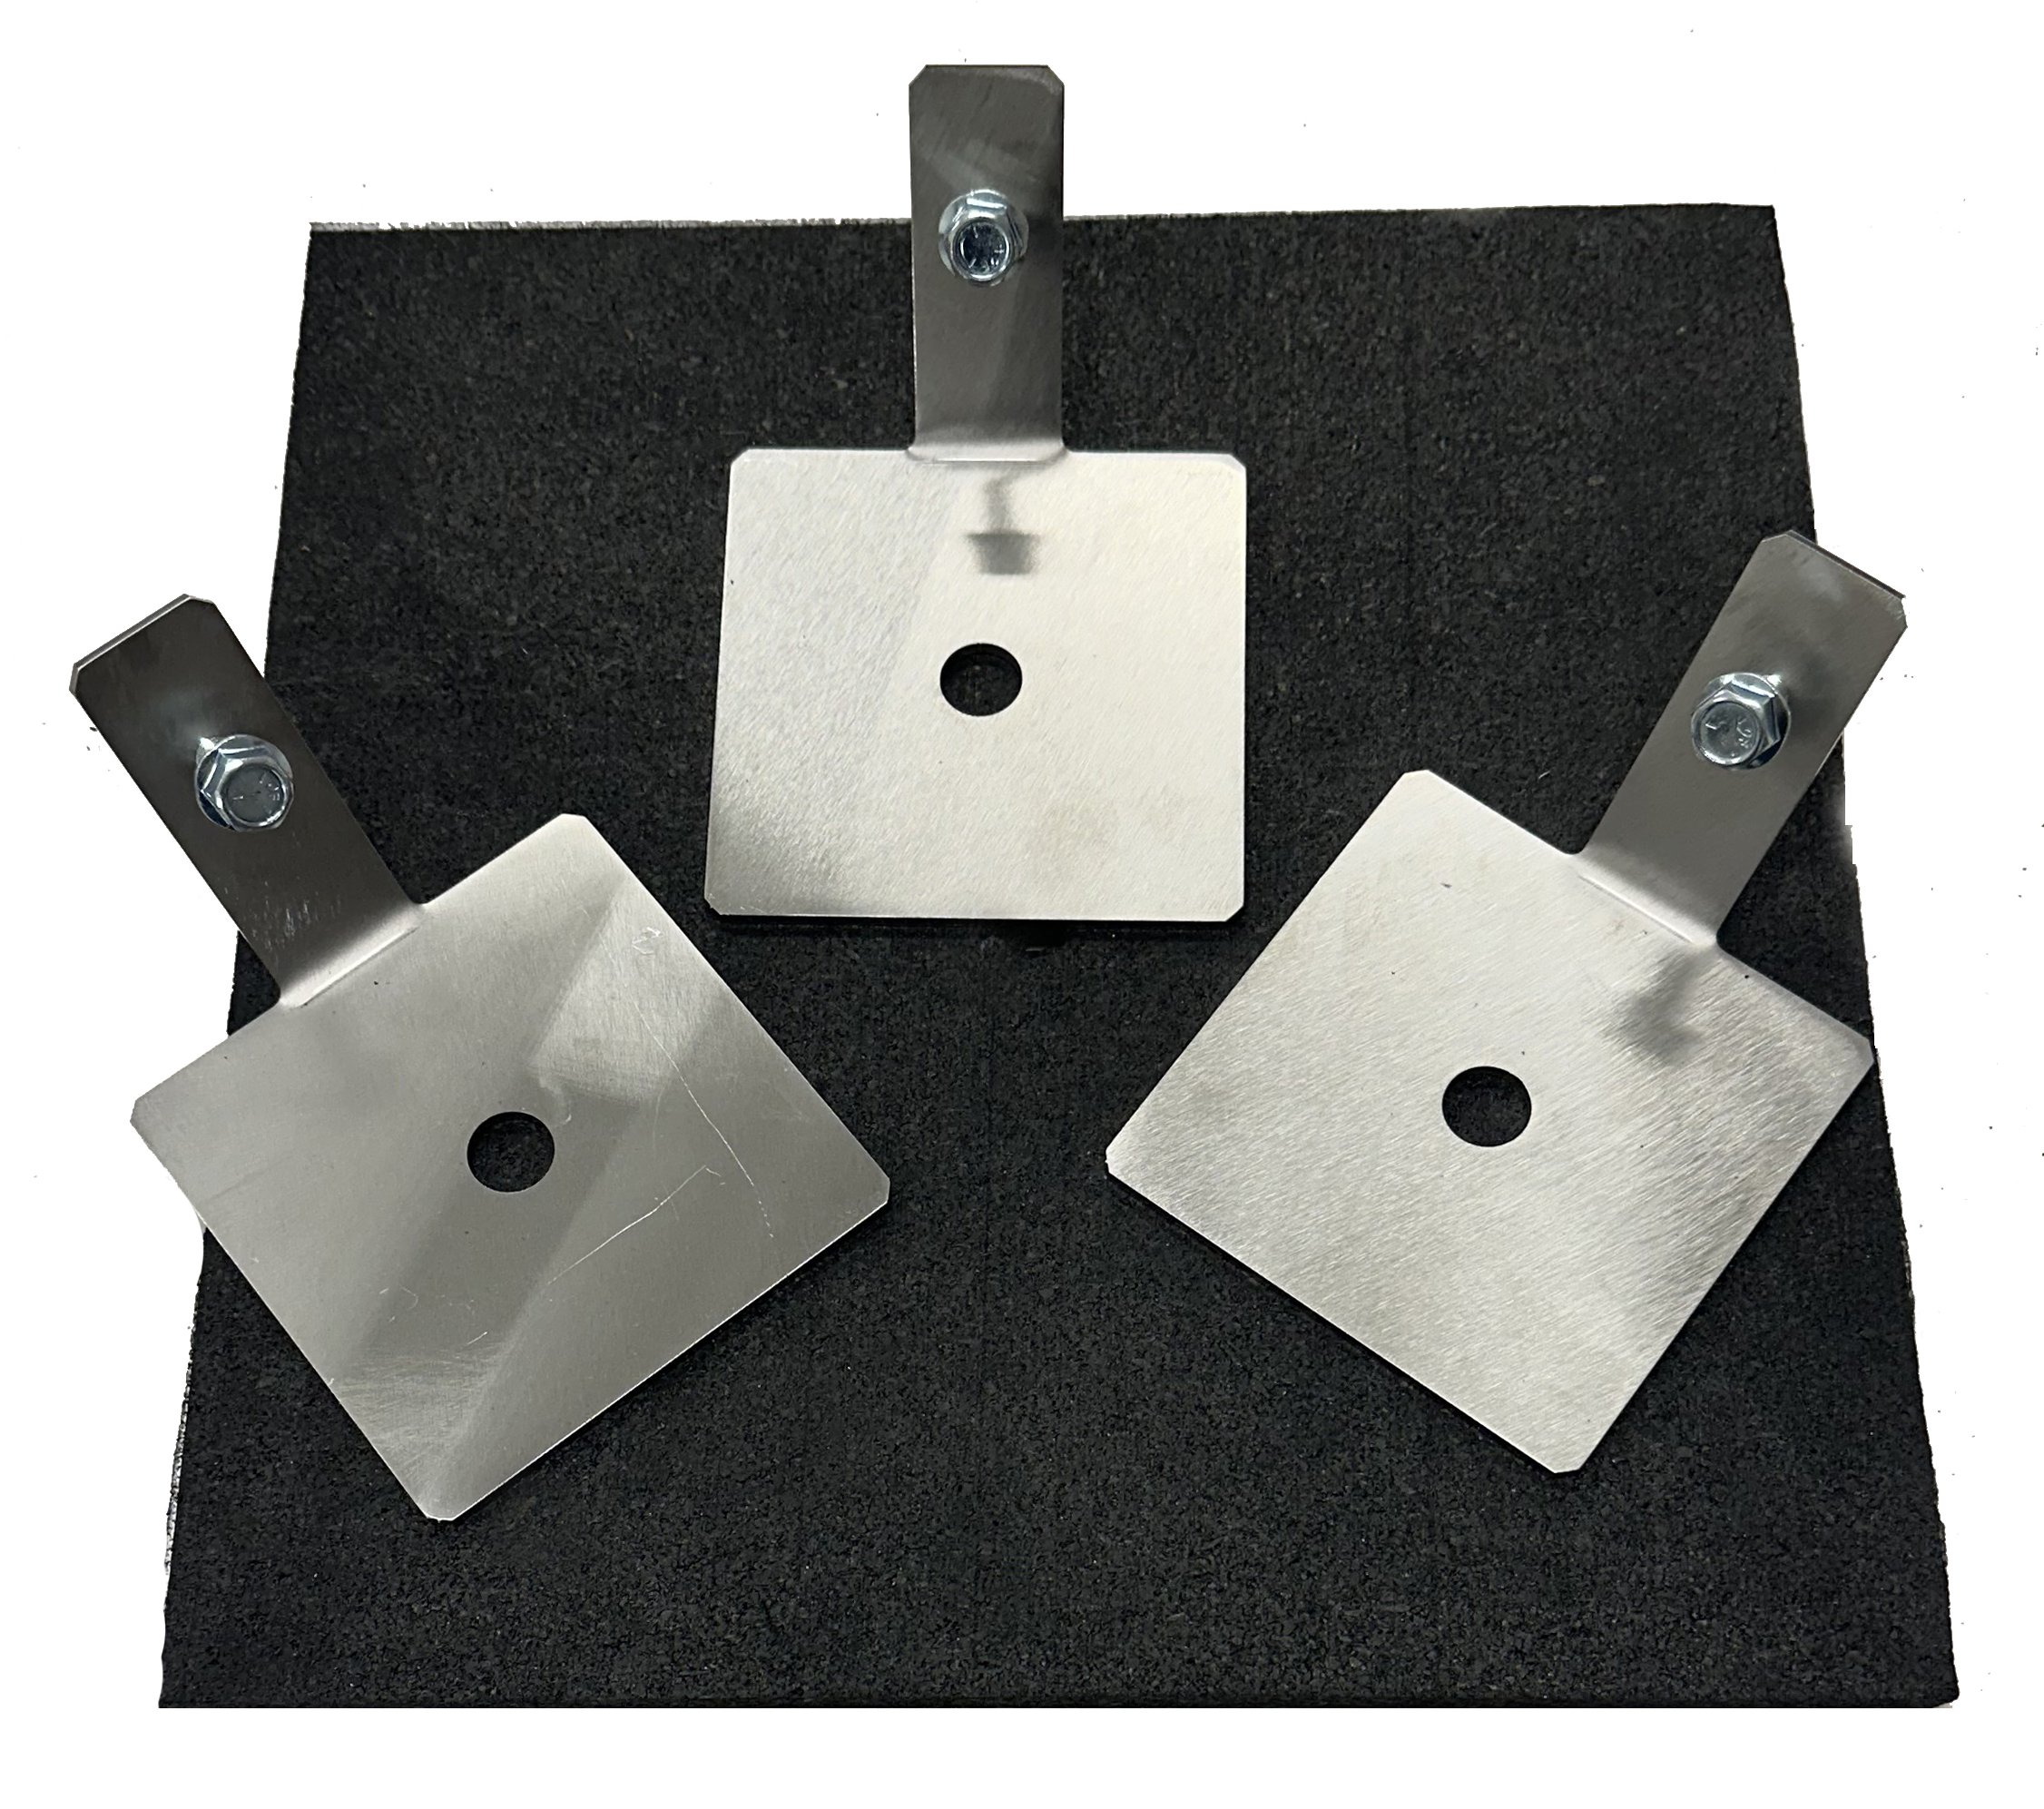
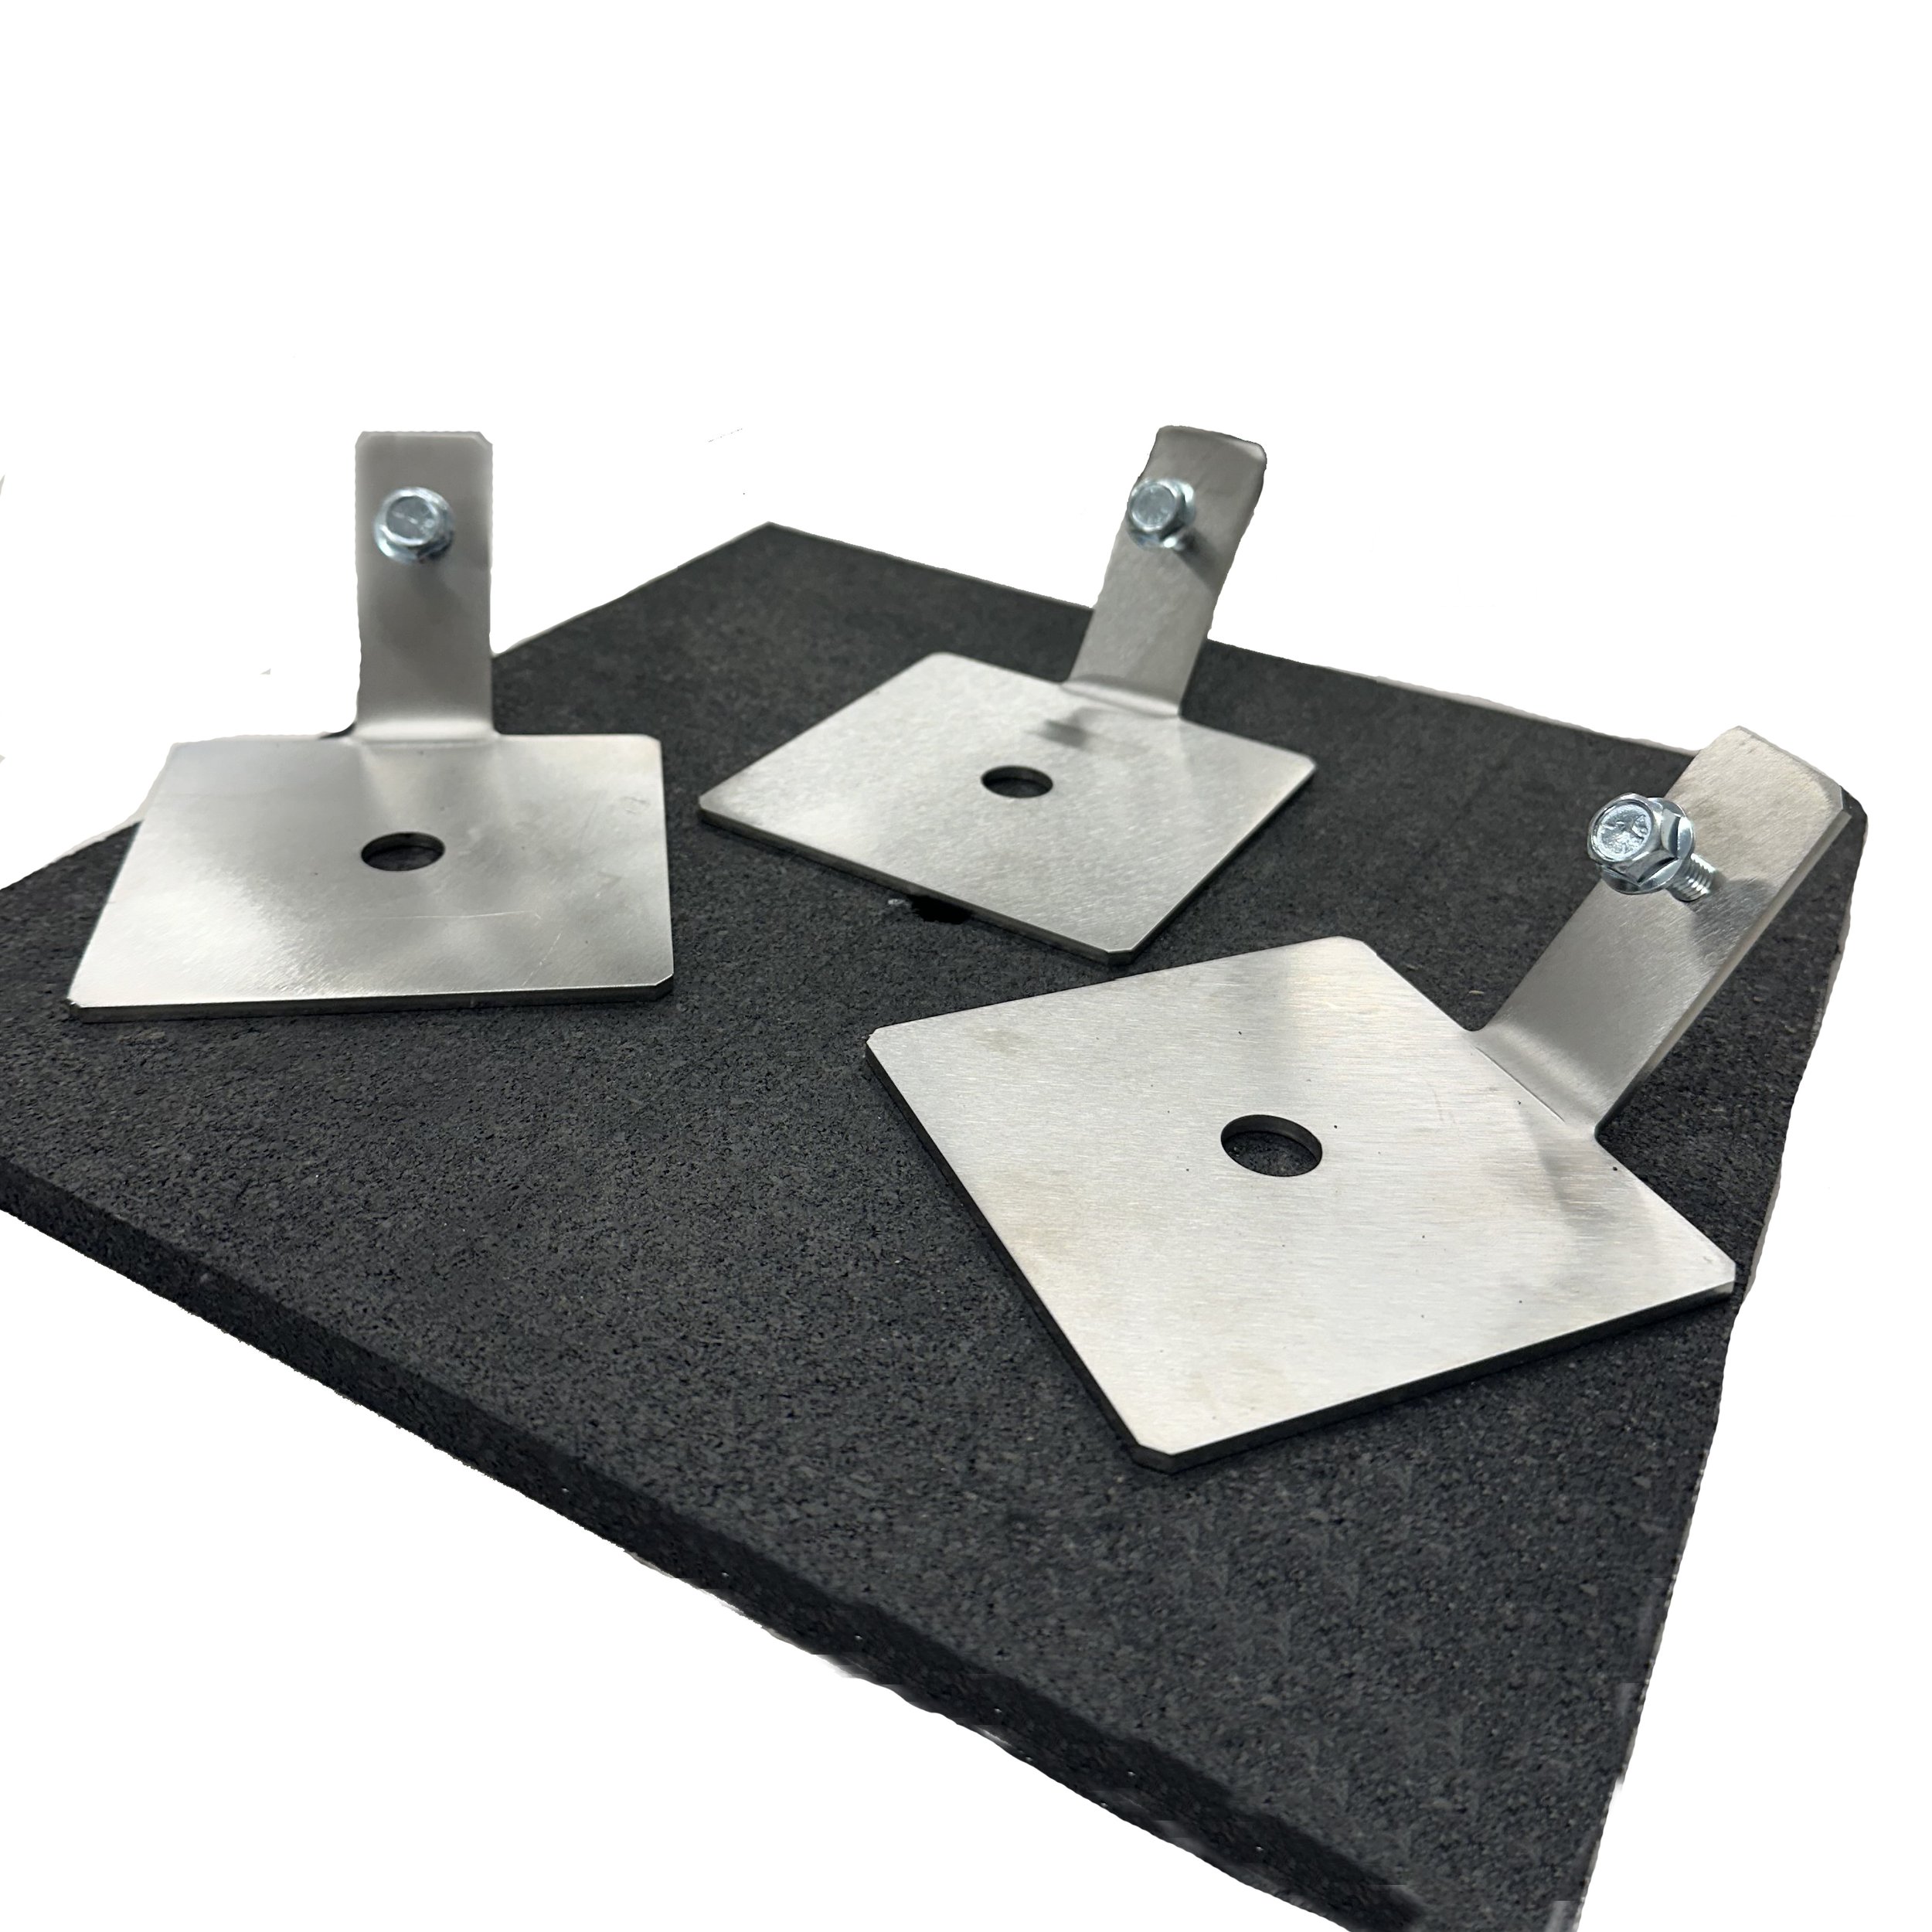
Many of today’s modern commercial rooftops consist of a synthetic membrane and the last thing you want to do is to puncture or otherwise damage the material. For this purpose, we offer a heavy duty rubber roof mat with construction designed to protect a roof membrane, withstand the elements and hold the feeder in place.
Ideal for sensitive rooftops or gel roof membranes, the OvoControl 1/2″ roof mat is constructed from recycled tires. Made for rooftop installation, the mat material is extra heavy duty. Measuring 48″ by 48″, each mat is pre-drilled for easy tripod attachment.
Feeders are attached to the mat with 3/8″ hardware included in the package. Once the feeder is attached to the mat, the installation is secured with additional weight — bar bells, sand bags or concrete blocks — all make good alternatives. Please see the following photo illustrations for examples how a feeder can be secured with a roof mat available through Innolytics or your distributor.